Saturday 23 March 2013

Steampunk technique book page #5

Hi There Katrina the Fruit Pixie design Elf here with the last page in my Steampunk technique book. For this page we are going to emboss and paint good old kitchen foil.


   Here is my step by step instructions for making my page but you can use this technique for any project you like.


  1. Emboss your kitchen foil using the Tim Holtz alterations steampunk embossing folder. It embosses beautifully!


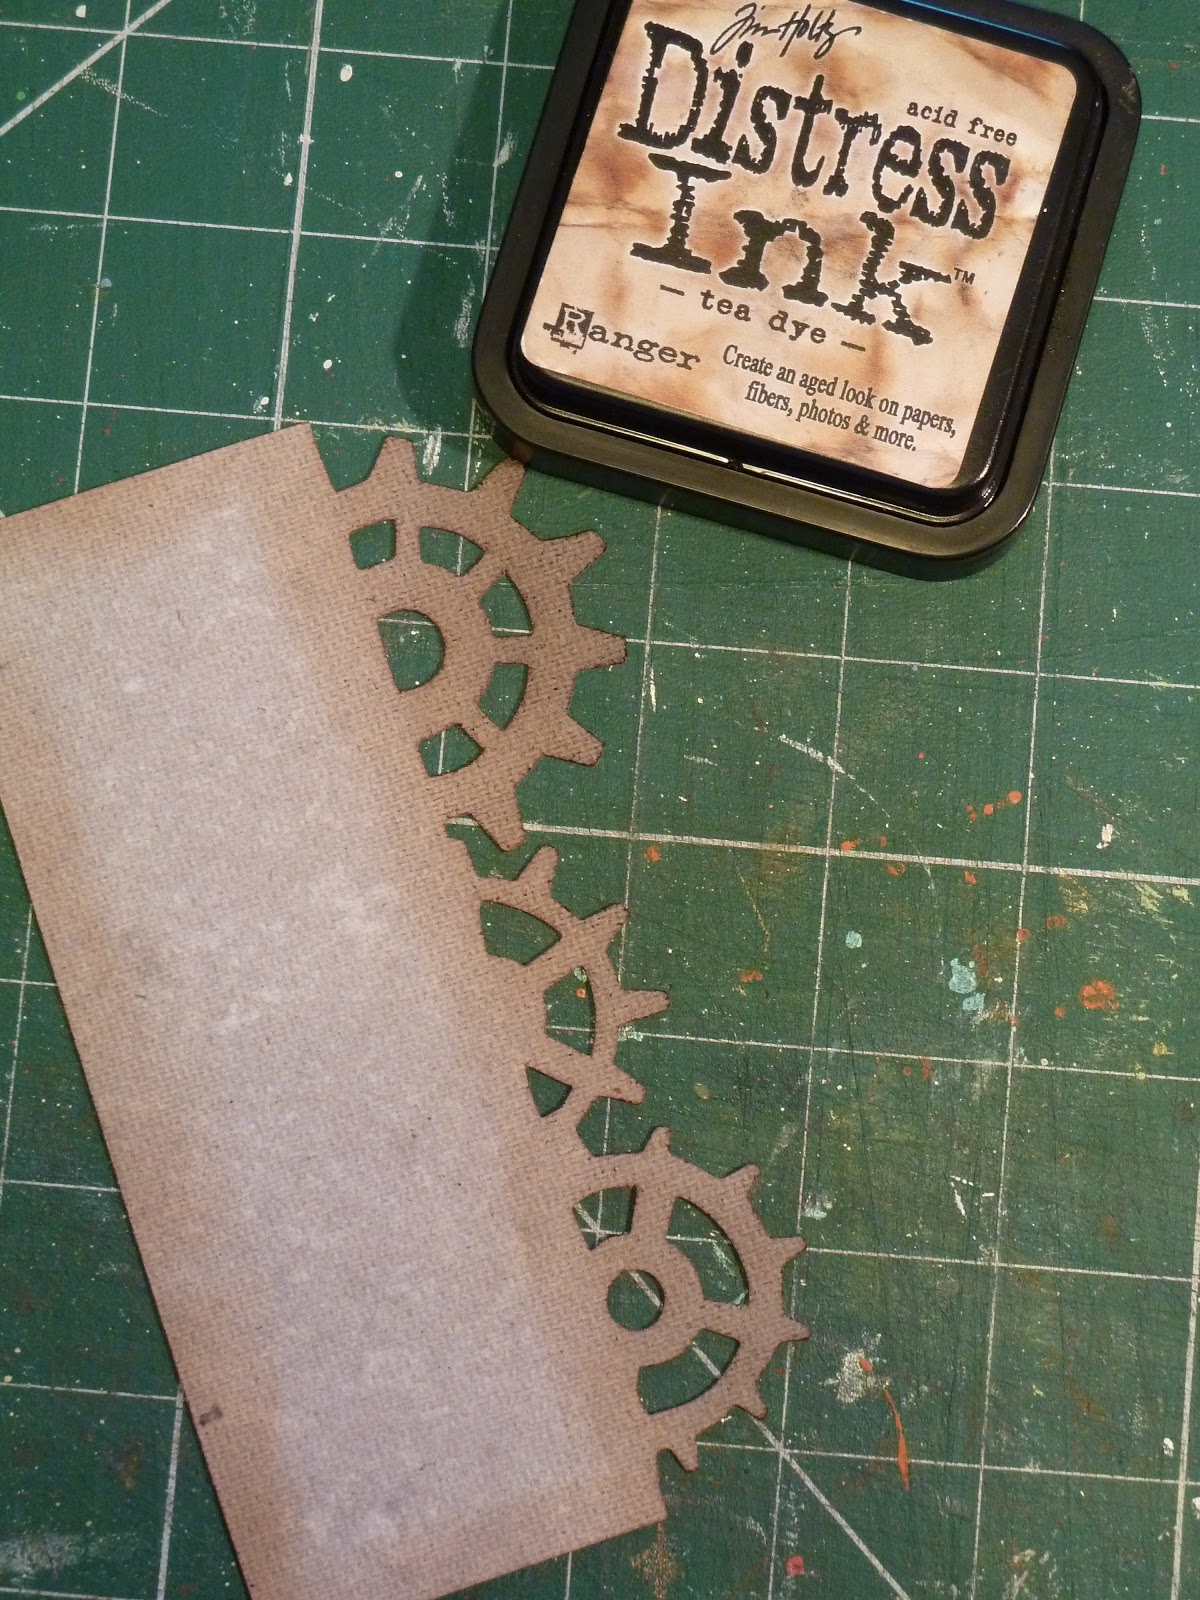
2. Using a wet glue stick it to a cardstock page and leave to dry. Then paint it with metallic acrylic paint and leave to dry.

 3. Choose a piece of the Bo Bunny Time piece paper and tear it in half. Then tear part of the middle out so it fits you page with a gap in the middle for the foil to show through.


4. Choose the stamp you like from the Artistic Stamper time key stamp plate and stamp them on to the Bo Bunny Timepiece paper in a random pattern using a VersaMark ink. Gently brush the Imagination mica power over the VersaMark stamped image.


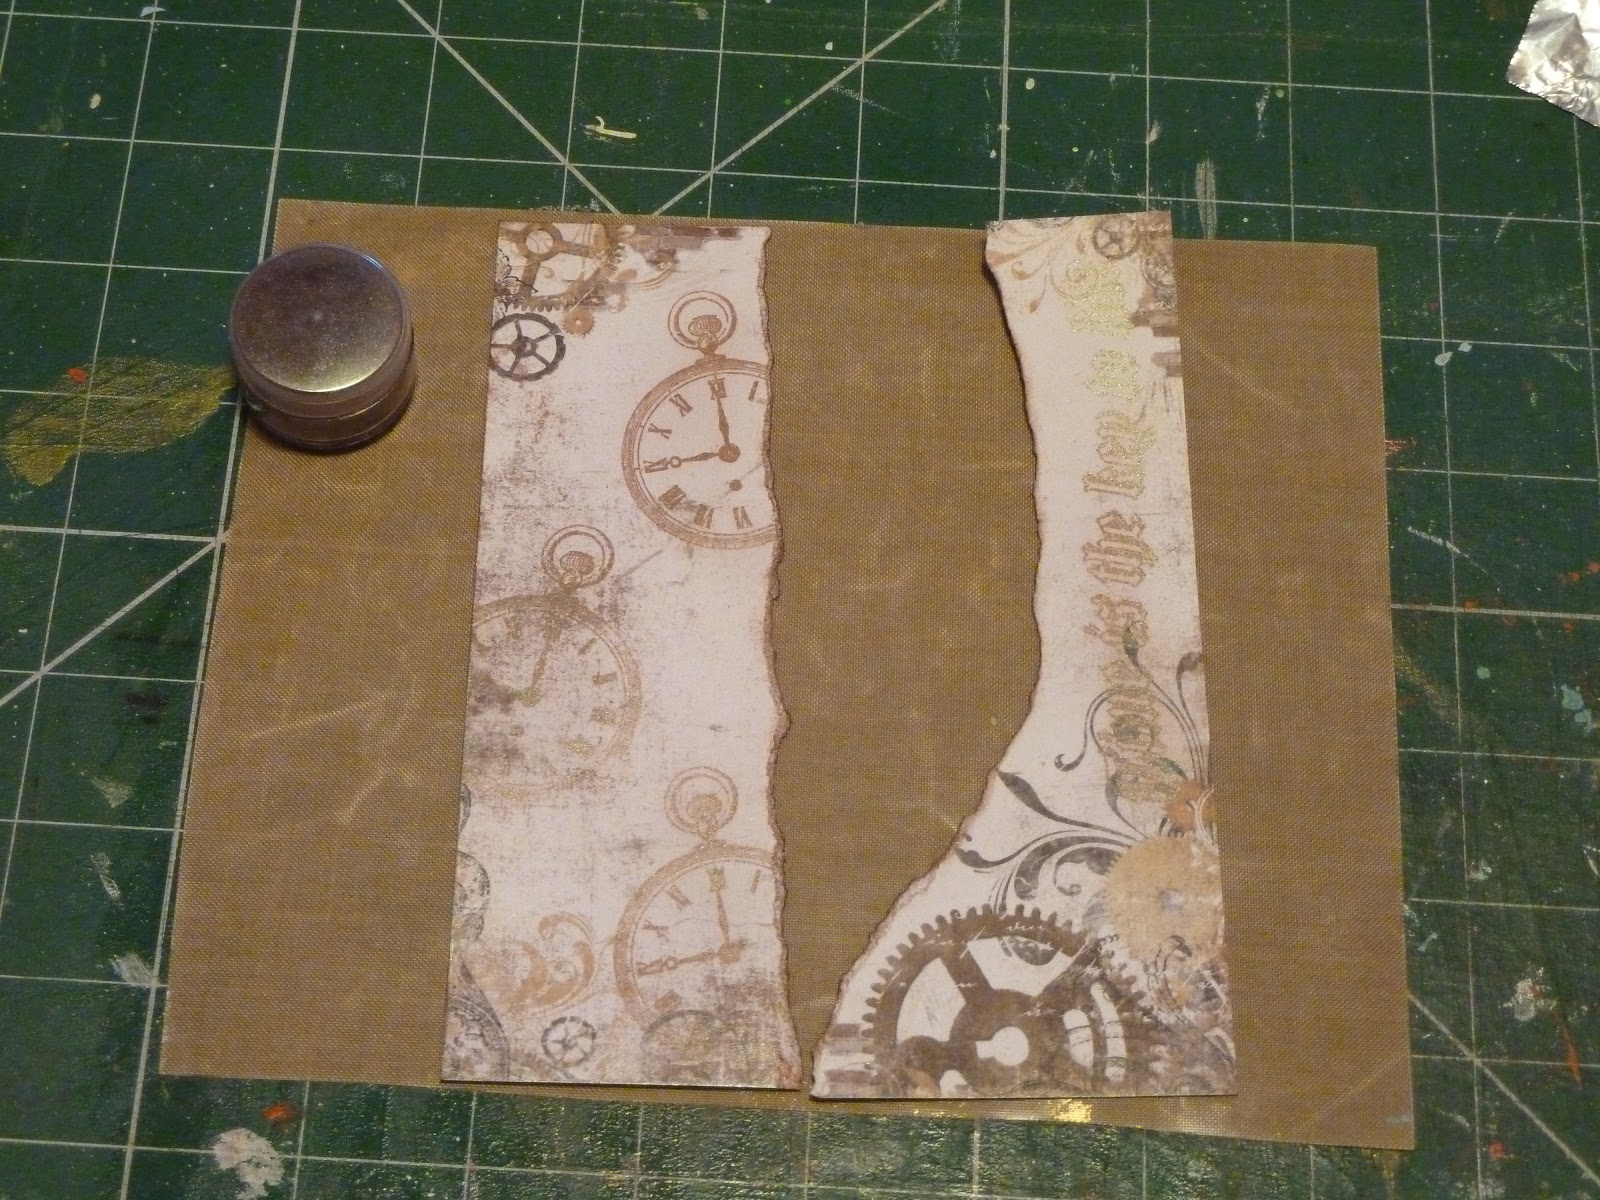
5. I stamped watches on one side and a phrase on the other in the same way.
6. Then stick your paper onto your foil and embellish as you wish. I painted an Eco Green chipboard cog with the same metallic paint and added one of the Bo Bunny trims. The large crystal in the middle of the cog also comes from the Bo Bunny trims.
This is the last page in my Steampunk technique book. I hoped you enjoyed them and picked up something new along the way. Have fun with all these techniques and make them your own.
Happy crafting,
                               Love Katrina

Wednesday 20 March 2013

Clearance Sale


Our clearance sale continues apace, while some lines have almost sold out (Fresco Finish, Eco Green Paints & Walnut Hollow Creative Metal) we are still adding reduced lines.
 
We are currently selling the following products at 50% off RRP;
 
Jenni Bowlin
Dovecraft
Jillibean Soup
Selected Bo Bunny Lines
Imagination Crafts
Eco Green Crafts
Kanban
La Pashe
7 Gypsies
Black Market Paper Society
Selected Craft UK Card Blanks
 
also all Christmas stock and wood mounted stamps are now reduced, so come and grab a bargain before it all goes...
 
New products are arriving daily and we've just opened boxes of new unmounted stamps and gilding flakes and glitters from Creative Expressions so keep an eye out for them appearing on the site in the next couple of days.
 

Tuesday 19 March 2013

Steampunk technique book page#4 embossing folders

Hi there, design elf Katrina here with the penultimate page in my Steampunk technique book. This time using your embossing folders in a slightly different way.

Here is how I achieved my look


Place your embossing folder, I used the Tim Holtz Pocket watch and Steampunk texture fade for this page but any embossing folder will do, place under your chosen Bo Bunny Time piece paper.


Using a wax crayon, I used 2 different colours, rub over the paper and you will pick up the texture pattern from the embossing folder underneath


Then add your ephemera. I used a scrap of music paper and gramophone paper but you could do this technique on any card or scrapbook page.

Happy crafting!
                                     Love Katrina

Friday 15 March 2013

Steampunk page #3 stamping

Hi there Katrina the design Elf here with my 3rd Steampunk page to show you and this time the technique is stamping.

   Now I do have a bit of a confession to make, I got so carried away with this page I totally forgot to take any photos along the way but I will talk you through the process instead.


  OK here is how I did it.

1. I took a piece of Crafthouse Press Watch face paper and a paper for the back, cut them both at the same time using the Tim Holtz alterations cabinet card die. Then keeping them together cut to the size of your page.

2. Stamp the Artistic stamper Slow Fast stamp and 2 of the Judikins instrument block images you like twice too and cut them out. Distress them using the Tim Holtz distress ink.

3. Cut 2 pieces of acetate to fit your page and using a clear dry glue stick the stamped images back to back then to one of the pieces of acetate. Once dry stick the 2 pieces of acetate in between the 2 pieces of cut paper making sure the shapes line up.

4. Decorate the page with 7gypsies Numbers rub ons and any other embellishments you want!


I have 2 more pages and techniques to show you then onto something new!

  Happy crafting
                                           Love Katrina

Tuesday 5 March 2013

Steampunk page #2 embossing

Hi there, Katrina the design elf here with the second of my Steampunk pages. I like different sized pages in my books to add interest and to use up those scraps too !!

  This page also uses the Tim Holtz edge dies and embossing plates to give it a steampunk look. Here is how I made my page....


First I cut a piece of Grunge board and using the Tim Holtz on the edge die Steampunk. Then using the Tea dye distress I inked the edges on both back and front. This didn't really give me the look I wanted so I .....


Reached for the Imagination craft mica powders velvet dream. I took a tiny amount of powder and added a drop of water and mixed it into a paint. I then painted the edges front and back.


I then cut a piece of the Bo Bunny Timepiece paper and ran then through the Watch and Steampunk texture fade and then rubbed some of the Tea Dye distress ink onto the embossed paper using the application tool.


 Here are my finished pages. Of course you can use any images or photos you want too, just have some fun with it.

         Happy Crafting
                                     Love Katrina

Friday 1 March 2013

Steampunk page - masking tape technique

Hi there Katrina the resident Fruit Pixie designer here with my first page of my Steampunk book. My idea for this book was to share my favourite mixed media techniques, so here is the first one, using masking tape!!

  I would like you to meet Mr and Mrs Hunt and their little pet Horris. Mr Hunt is an inventor of wondrous things, including their little pet too I think!  Here is how I made their page.


First I cut a cabinet card shape from the Alterations cabinet card die out of a stiff card. It could be a cereal box card as you wont see the back. I then ripped up pieces of masking tape and covered the shape, layering one strip on top of the other slightly to give lots of texture. Burnish it down well with the end of a ruler or bone folder.


Make up the colour of your choice from the Imagination Crafts mica powder kit with the magi bond it comes with, into a wonderful paint and cover your masking tape. You can add a second colour too if you wish. leave to dry.


Cover your page with the Bo Bunny Timepiece collection paper and add your masking tape cabinet card on top.


Add images and embellishments, I chose one of the steampunk clock charms and the Tim Holtz light bulbs which are no longer available at the Fruit Pixie.

 Now I covered a cabinate card shape for this page but you can use this technique on anything you like for cardmaking and scrapbooking. It gives a lovely textured finish and using the mica powder paint has a wonderful two tone sheen too. Why not have a go.

Happy crafting
                           Love Katrina