Now you could say I have been planning this project for a while. I bought my melt pot 8 years ago and at the same time I bought the project pan so I could work with wax.................and umm this is the first project I have used it for!! I had such fun with it though and it definitely won't be another 8 years before I get the wax out again!!
There are a few tips and tricks I learnt about working with wax I would like to pass on to you, just to make it easier to work with.
* First you do need to be careful about the temperature the wax gets too, after all wax is flammable, so I recommend using a melt pot and project pan which will keep it melted at a safe temperature.
* Remember that you are working with a hot substance so keep an eye on pets and children if they are around you while you craft.
* You will need to have a natural hair paint brush that will only be used for wax. You need the natural hair brush because a synthetic brush will melt in the hot wax.
* Have your heatgun at the ready, as you will see it really helped.
So, here is what I used for my project -
* Melt pot and project pan
* Cosmic Shimmer bees wax granules
* Natural hair paint brush
* Heatgun
* A Canvas
* Kaisercraft Miss Empire Paper pack with stickers
* Metal embellishments
* Distress paint Rusty Hinge
So the first thing you need to do is put your melt pot on and melt the wax. After you have finished your project the remainder of the wax will just harden and live in the project pan so no need to worry about how much to melt.
.JPG)
While the wax is melting paint the outside of the canvas with distress paint

Then its time to have fun with the paper pack. I tore my papers to the sizes I wanted, inked the edges and decided where I wanted everything before I started to add the wax.
.JPG)
For this project you don't need to use any glue as the wax will do that for you. So to attach the first piece brush some of the wax onto the canvas and push the paper onto it. If your wax sets before you can get you paper on then just use your heat tool to melt it down again on the canvas.
On top of each piece of the collage you attach with the wax you need to paint a layer of the wax over the top too. You will find the wax will set so I found the best way to get the perfect smooth finish was to paint it onto the paper and then use your heat gun to melt it down again to a smooth finish.

before I used a heat gun

After I used my heat gun.
Continue to build up your collage with layers of paper and wax until you have finished, using your heat gun to get a smooth finish

You paintbrush will set solid now and again but just hold it onto the bottom of the project pan for a few seconds and the wax will melt again

For the heavy embellishments all you have to do is add some wax to the area you want them to go and push the embellishment into the wax. Mistakes are easy to fix as you can just melt the wax and remove the piece then melt it again to go smooth.
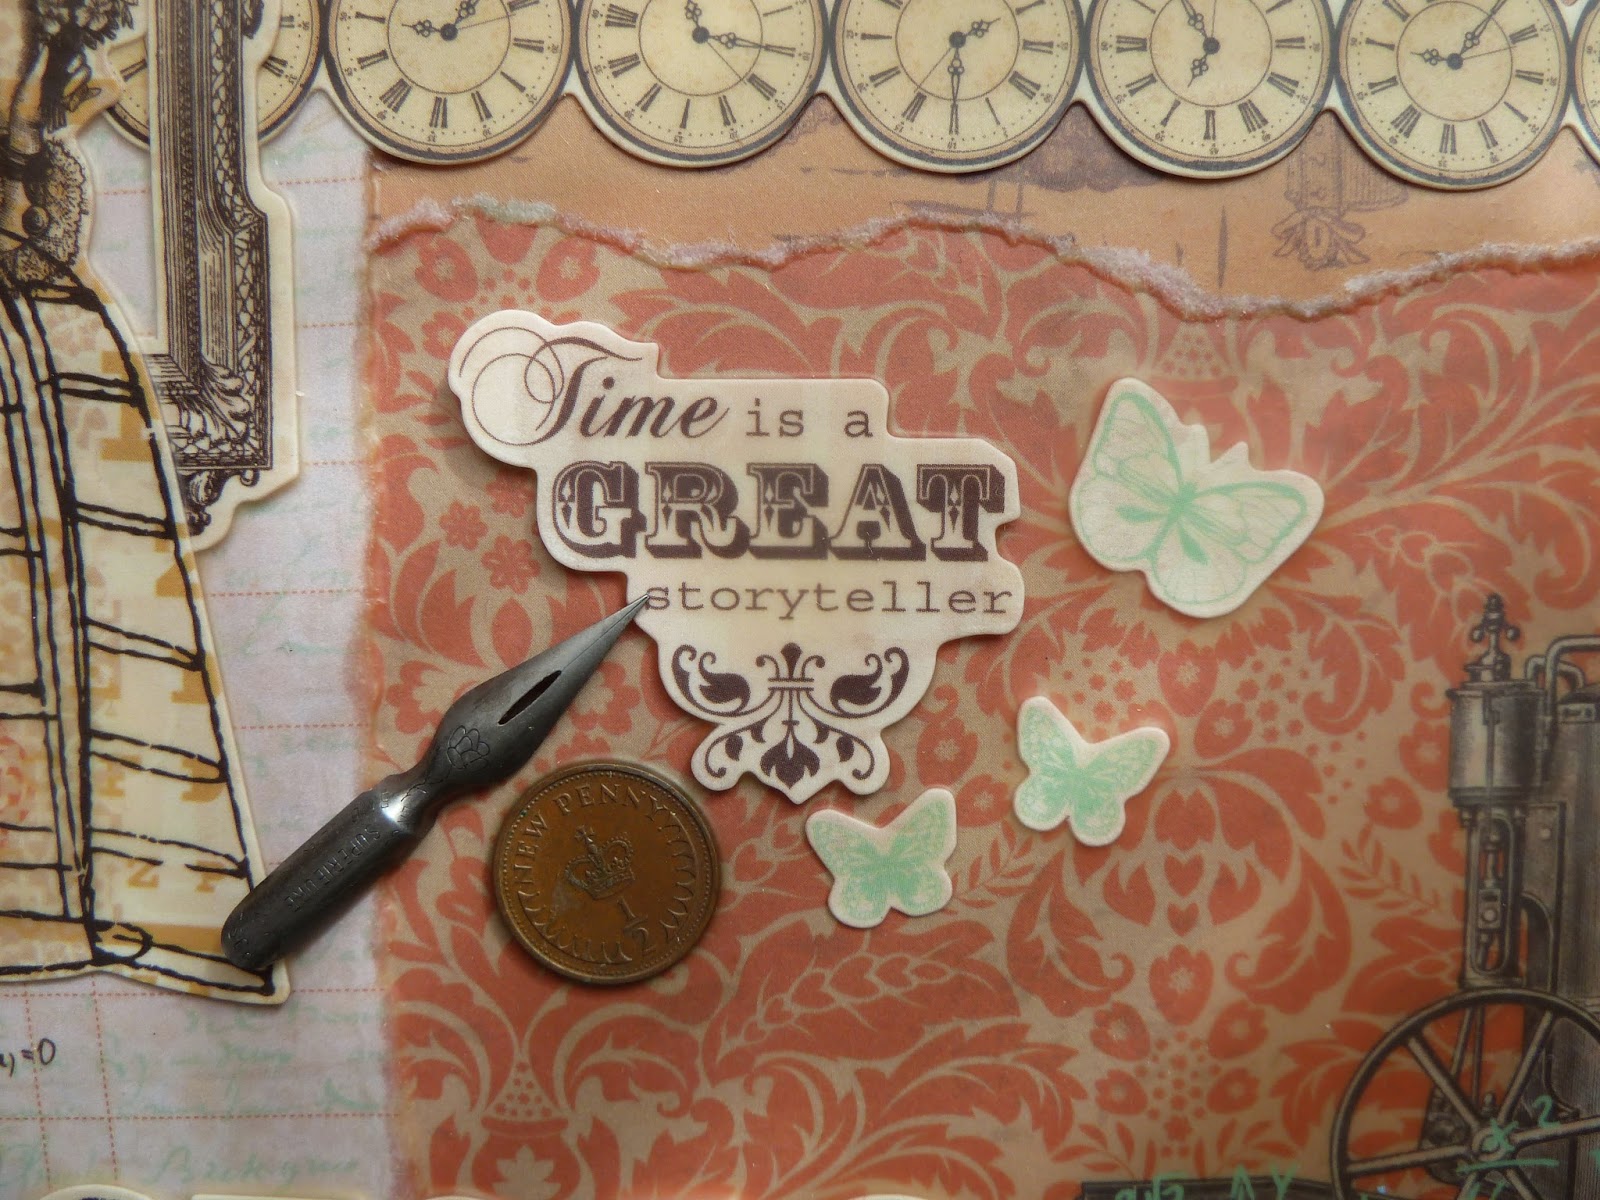
So here is my finished piece. all the images I used were the stickers in the paper set and I had no trouble using them with the wax


To add glitter and guiding flakes just sprinkle them onto the melted wax


Using wax might sound a little bit daunting but once you get started and realise there is noting to it, it is a lot of fun and will give you a beautiful finish which will impress your friends!
Thanks for reading my tips for using wax, please give it a try I know you will love it!
Happy wax crafting!
Love Katrina
Looks fabby Katrina ... Love it :)
ReplyDelete