
The inspiration for this came from a menu planner I saw on Pinterest. Just the thing I needed as every night hubby and I ask each other the same old question " What shall we have for tea? " and you always get the same answer " I don't know !" So now with this wonderful idea that question is a thing of the past................. well that's the idea! :)
So if you go through a similar thing then this could be the project for you
I used for this project -
* A small metal baking tray ( mine came from the Pound shop )
* Ruby Rocket Cook 12x12 Ledger cardstock
* Ruby Rocket Cook 12x12 Ephemera cardstock
* Ruby Rocket Cook 12x12 Patchwork cardstock
* Ruby Rocket Cook Die cut pack
* Tim Holtz Alterations Typeset alphabet
* New bottle tops
* Magnetic tape
* Post it note
* Coordinating cardstock
* Coordinating ink pad
* P.V.A. Glue
* Circle punch
* Cosmic Shimmer Lacquer
Here is how I made it

Cut the Ruby Rocket Cook Ledger paper down to fit your baking tray and ink around the edges. Stick the paper to the baking tray using P.V.A. glue.

I cut out one of the sections from the Ephemera 12x12 cardstock and drew and cut out a box/ envelope shape. I then stuck it together and inked around its edges. If you would like the template for this little box then just drop me an email.

I then used my circle punch to punch out some of the papers from the Patchwork cardstock and stuck them into my bottle tops. I used the Tim Holtz Typeset alphabet to cut out the days of the week and stuck then into the bottle tops. You could of course use small stickers or use a pen to write them in , I would do that though before you stick them into the bottle tops, it will make it easier to write on.

I then filled the Bottle tops with the Cosmic shimmer Lacquer but you could use Glossy accents instead. Leave over night to dry.

Cut your magnetic tape into 7 pieces and stick them to the back of your Bottle tops.

Take your coordinating cardstock and cut it up into strips of about 1 inch thick. then into smaller pieces that will fit into your tray design. These are for you to write your meal ideas on, I decided to write mine but you could use stamps, stickers or even print them on your computer. Remember to cut extras to pop on your pocket box to add new meal ideas later on.
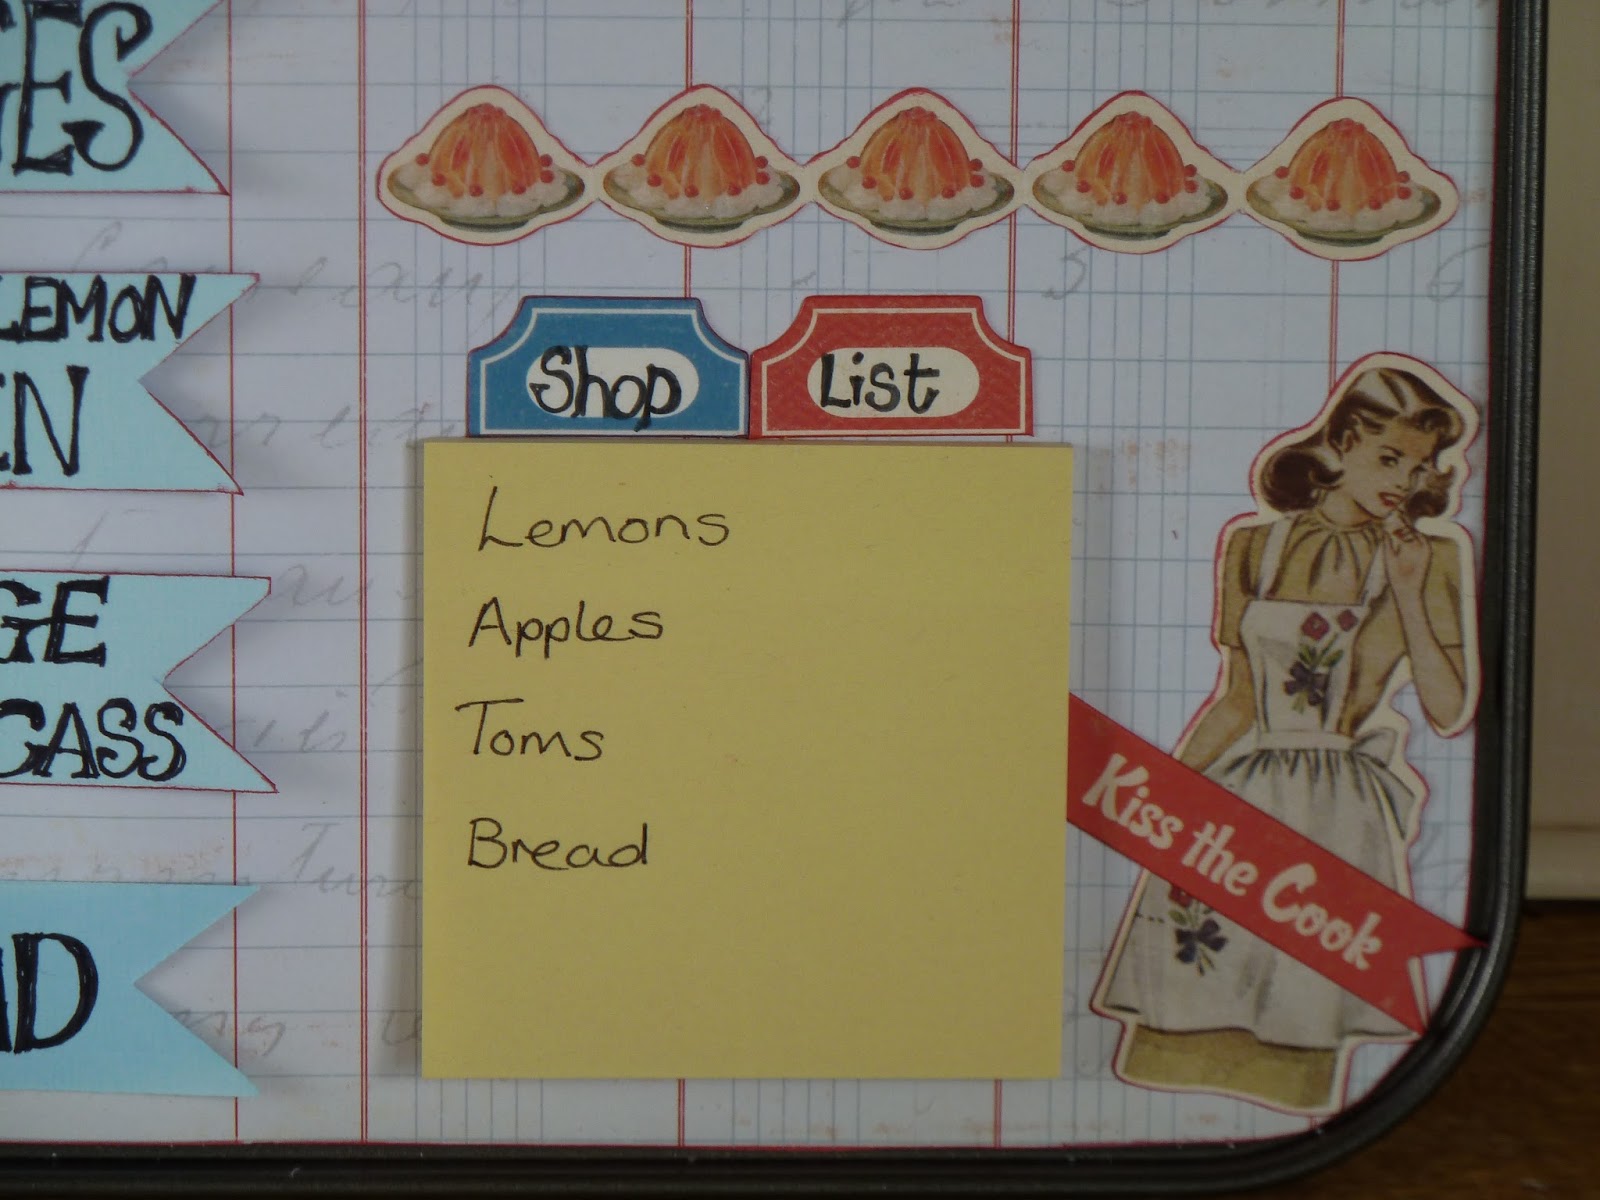
Then all you have to do is use the Die cut pack to decorate your tray. I used a Post it note for a shopping list.
Here are some close up photos of my board, the die cut pack was almost made for the job, don't you just love the knife fork and spoon!!


Hope you enjoyed this tutorial and will make a magnetic menu board for yourself. Now what's for tea.............???
Happy CraftingLove Katrina
No comments:
Post a Comment